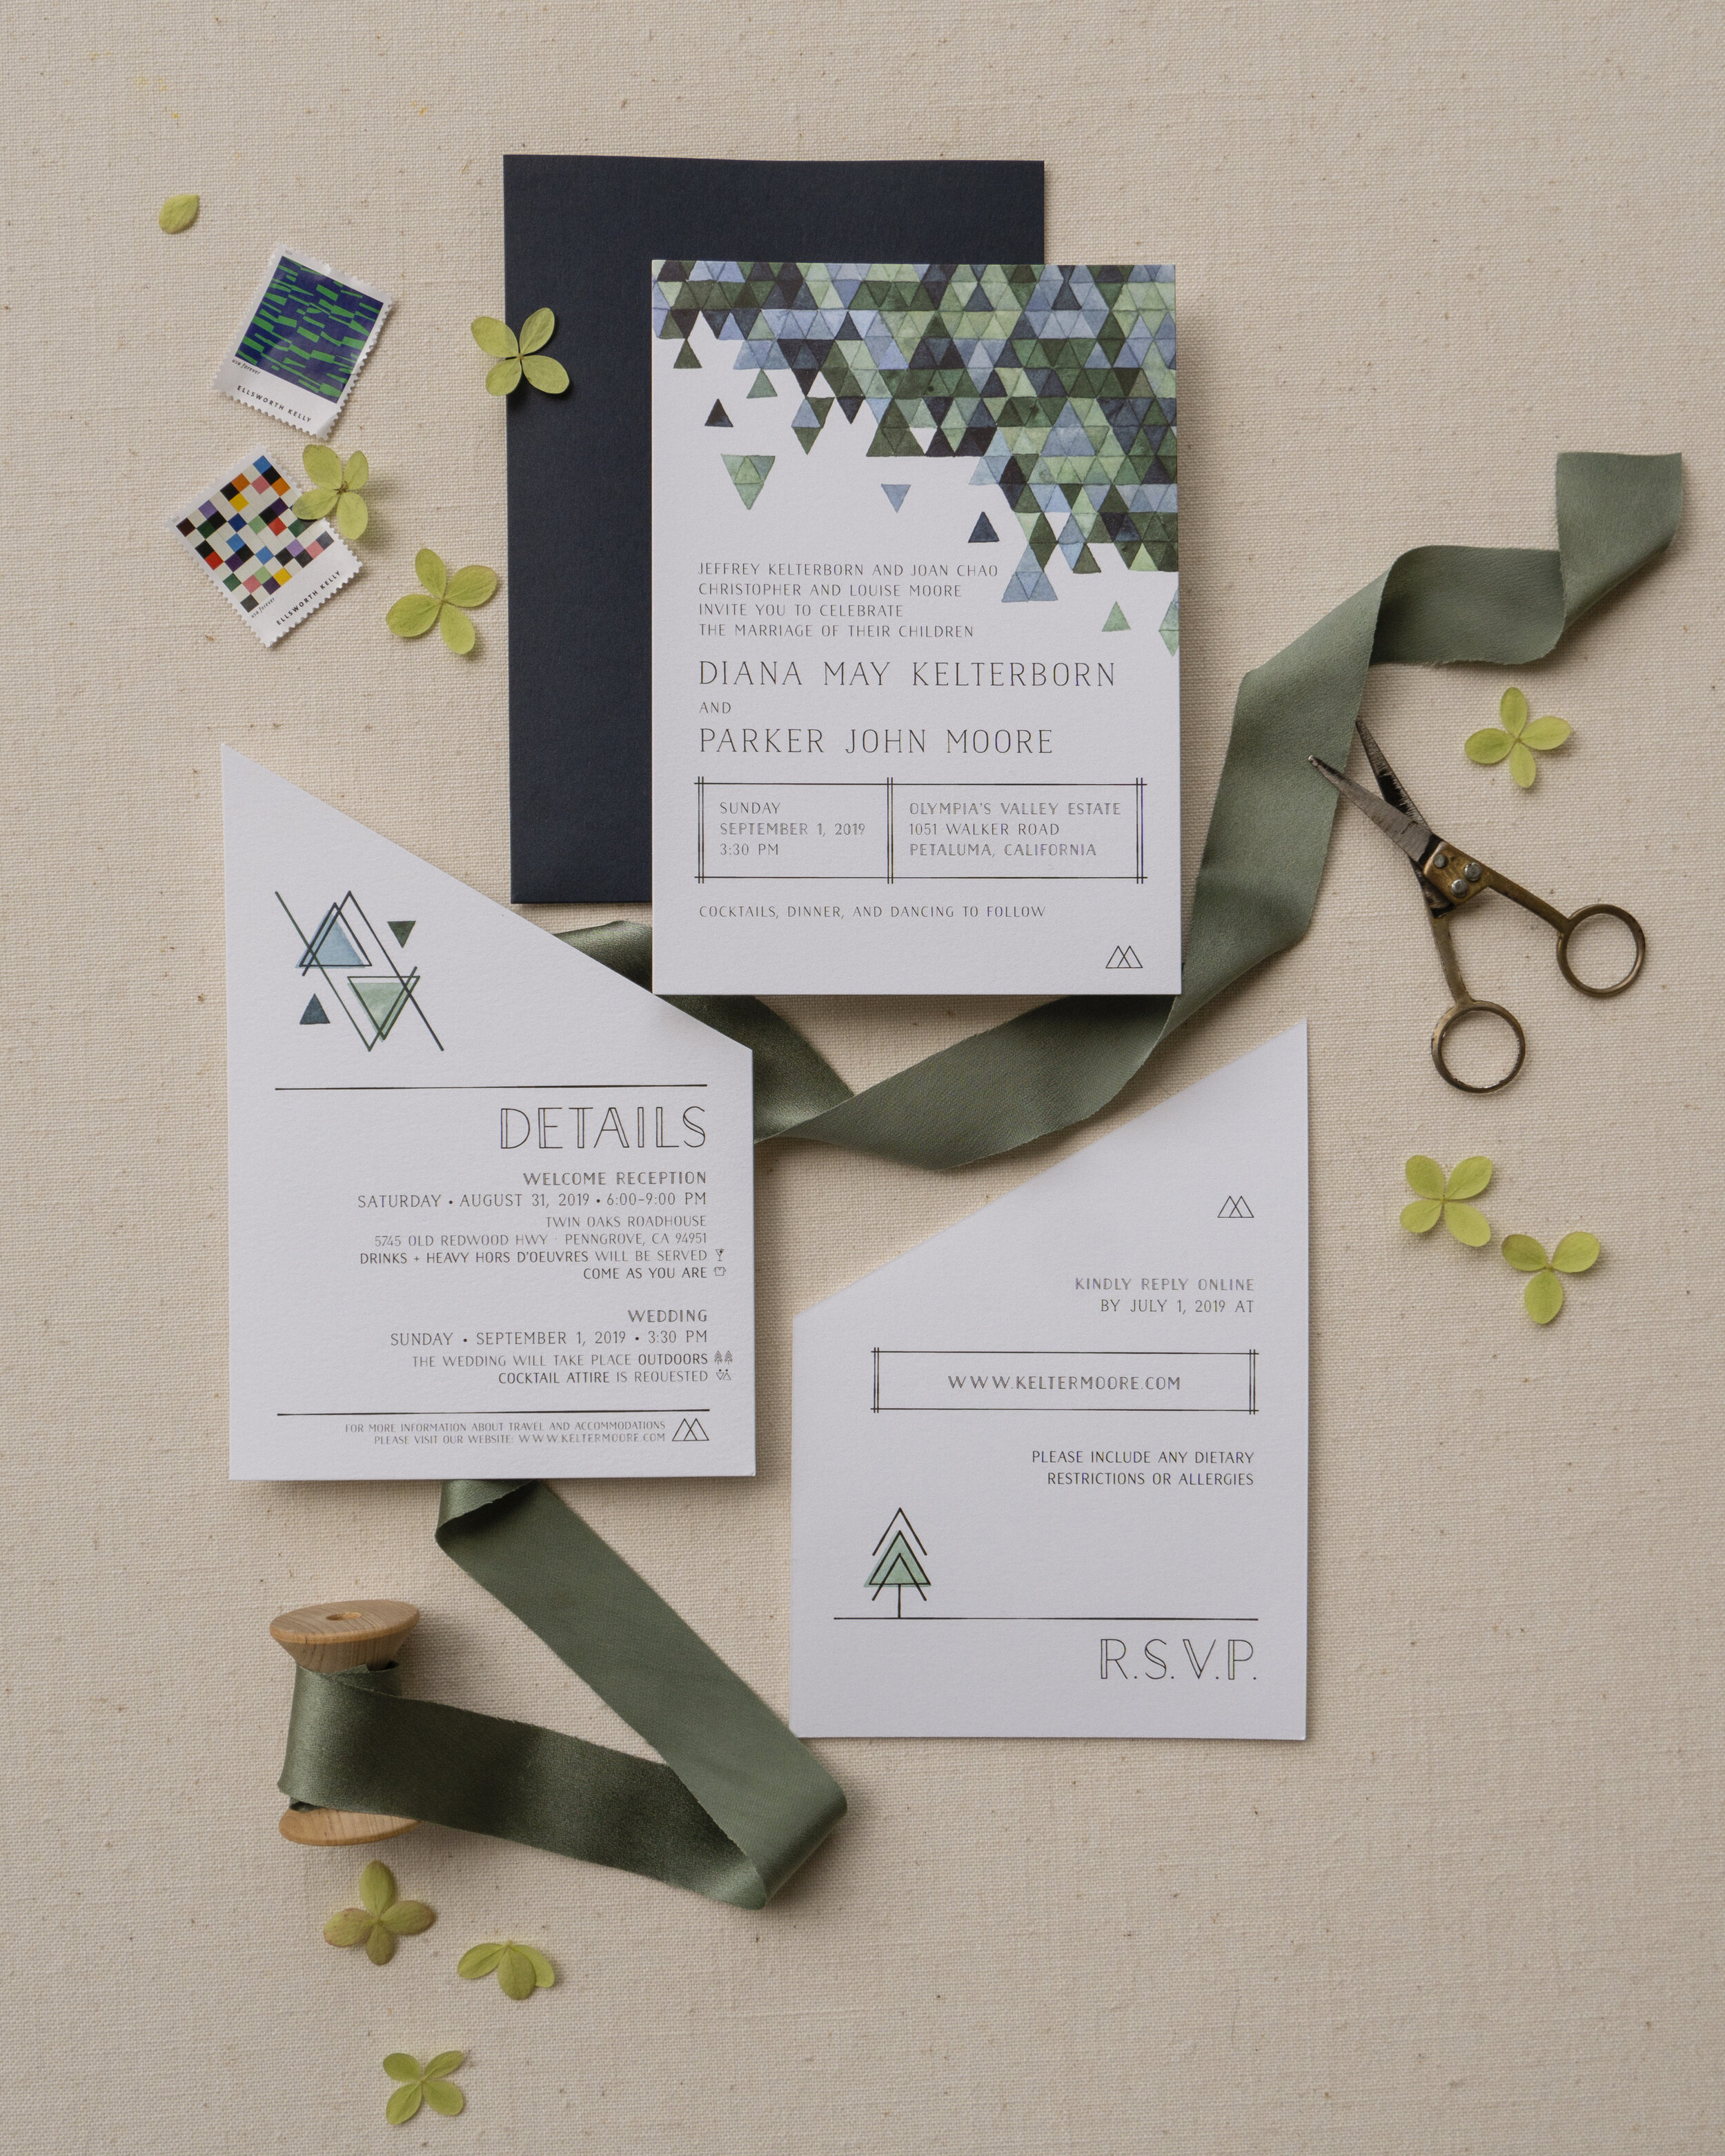
8 Steps to the perfect stationery flatlay.
The flatlay. It’s no small feat capturing all your details in a pretty overhead composition. The light, background, accessories, and composition all take a lot of care and time to compose.
Here are my tips for photographers hoping to capture the perfect shots of wedding stationery. Are you soon-to-be-married? Share this post with your photographer to make sure they know how important it is for you to remember your details!
Take the time.
This is probably the hardest part of capturing the flatlay. It’s meticulous, focused work. Couples, are you listening? If detail shots are important to you, make sure you’ve allowed your photographer an hour or so of time to really focus on your paper goods, jewelry, wearable florals, shoes, etc.
Find the light.
Even, natural light never fails a flat lay. That said, I’ve seen some amazing detail shots that include dappled sunlight or dreamy shadows, so if you’re a flatlay pro, go for it.The most important thing when finding your light is that you have a scenario suitable to convey true-to-life color. We stationery designers work hard to choose the perfect envelope color and to calibrate our prints to the exact hues we had in mind.
Lay it flat.
As a photographer, you’re always trying to find the best angle, but for stationery it’s almost always from directly above. After you’ve captured all those overheads, it’s nice to throw in the occasional detail shot from another angle, to capture a paper texture or illustration detail.
Mix it up.
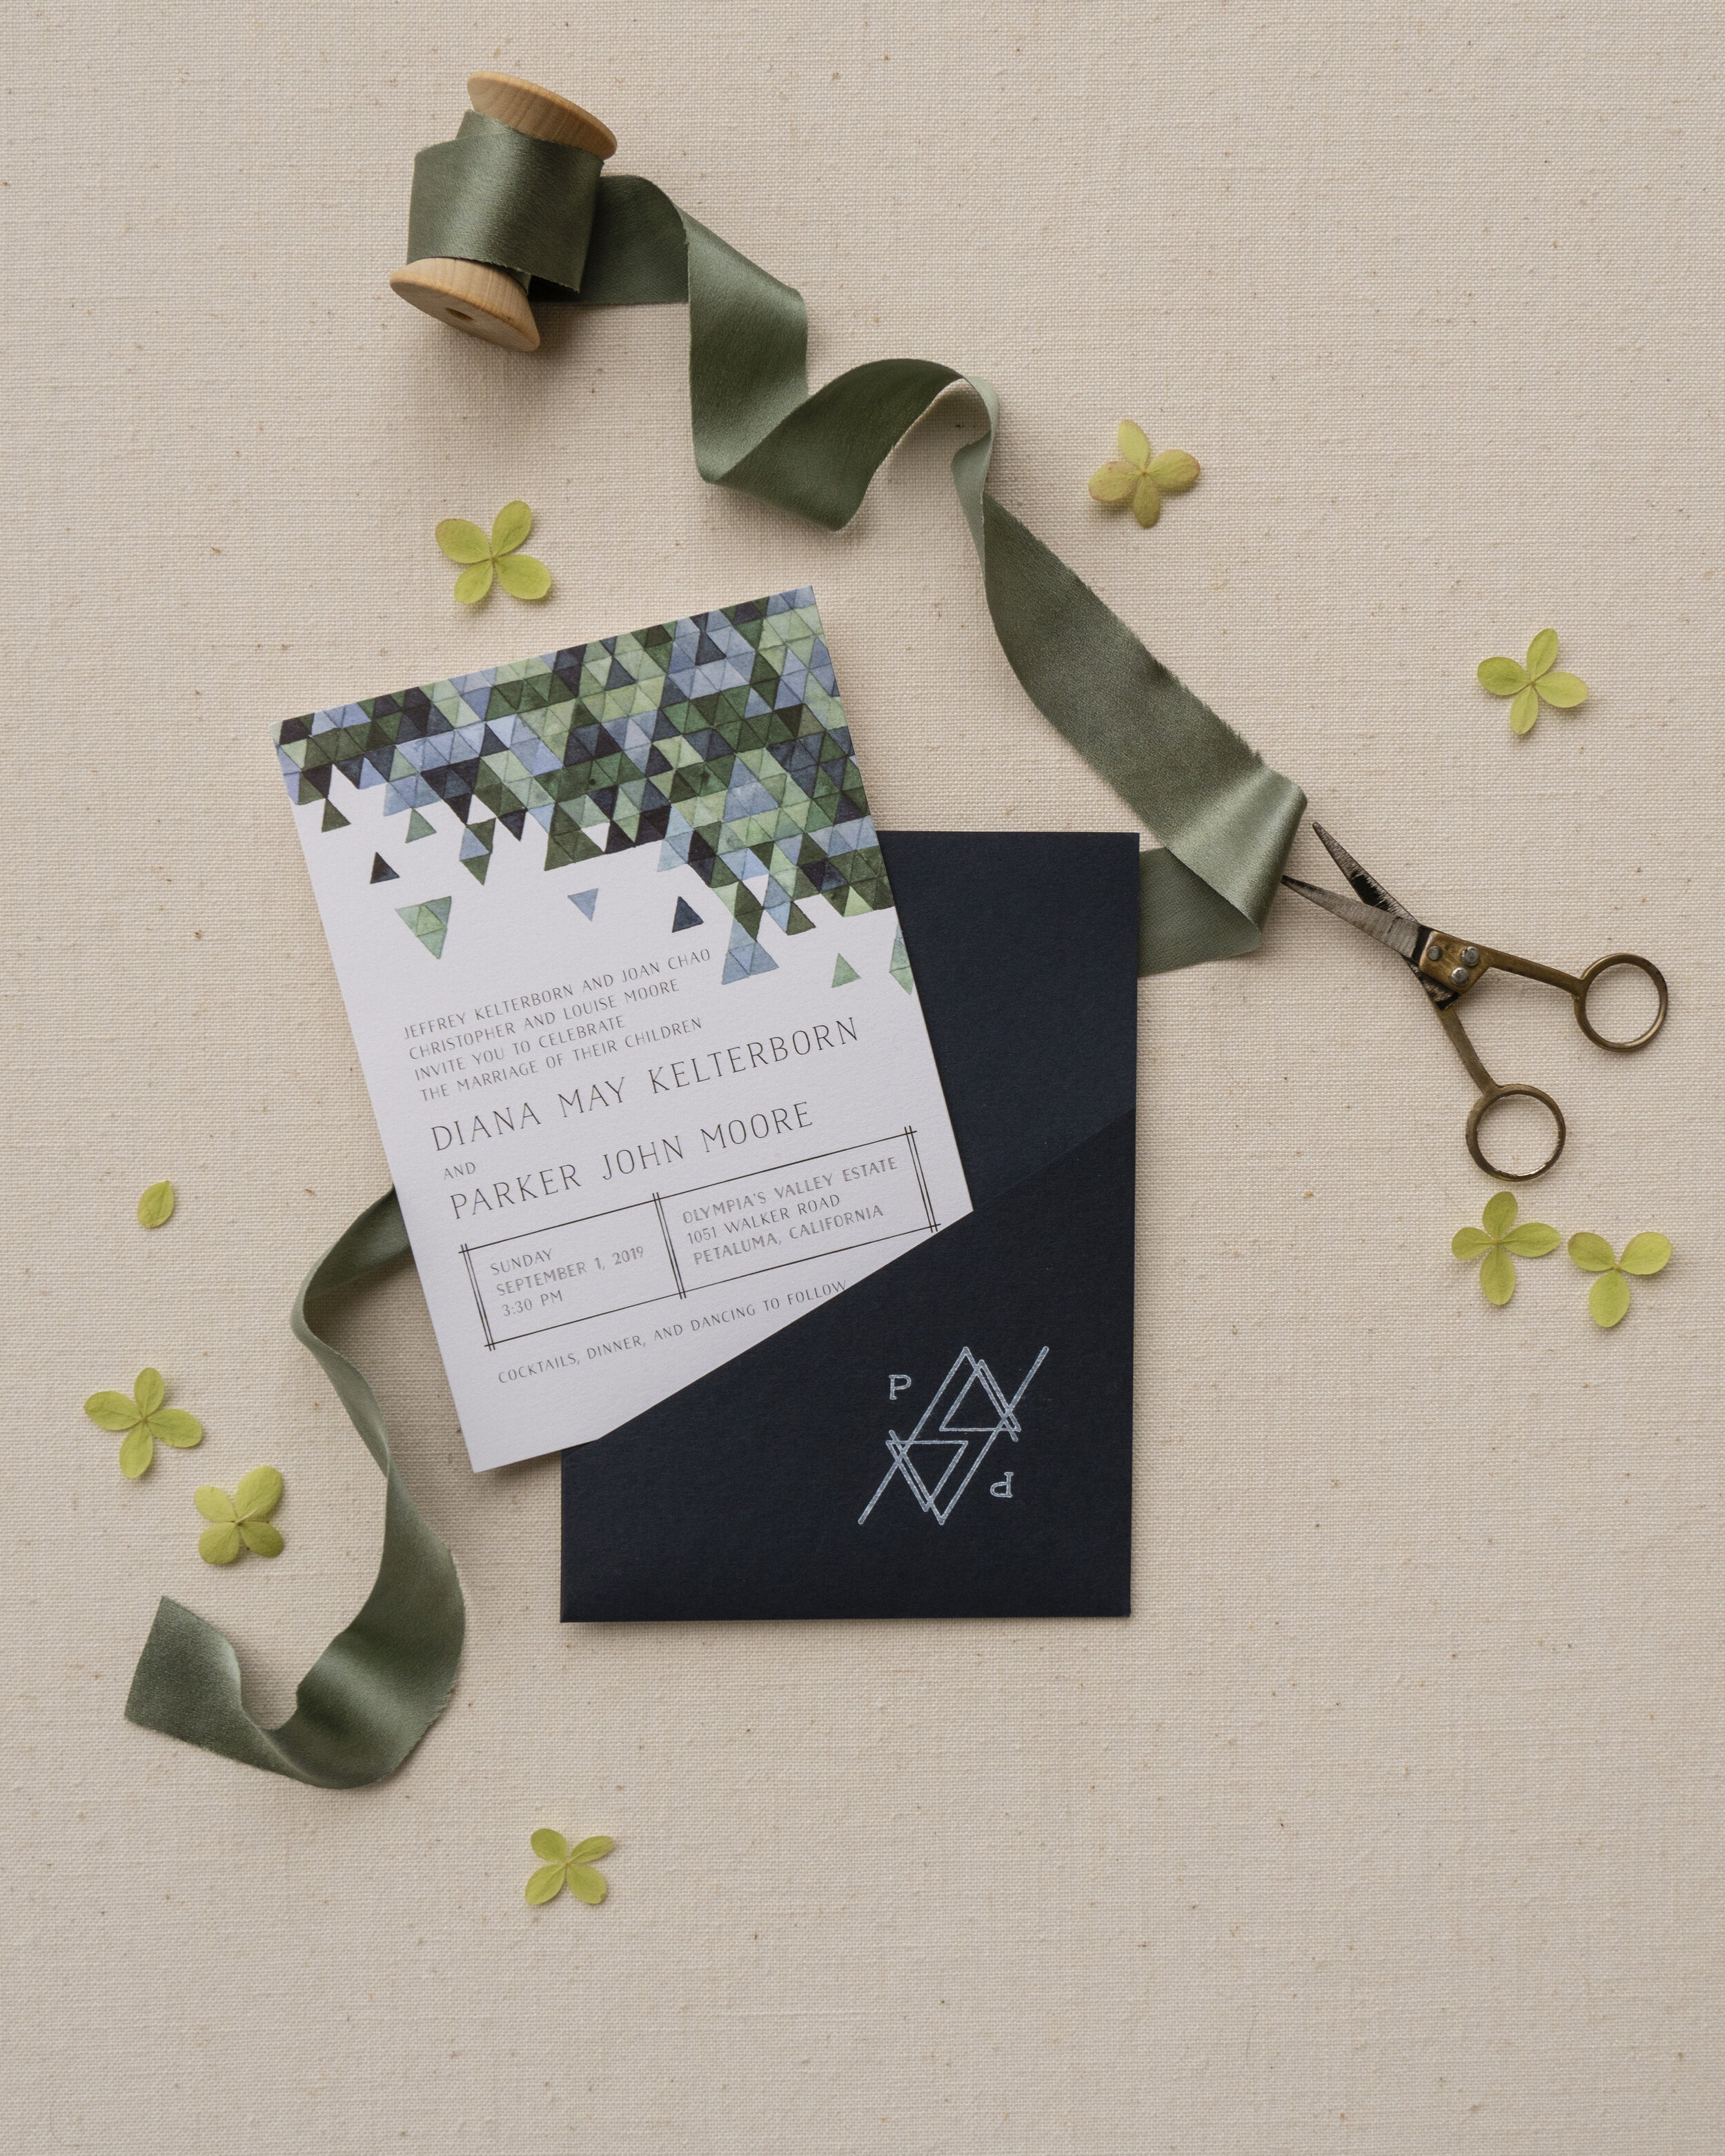
There are a lot of ways guests experienced the invitation. They held them in their hands, opened them up, pulled a neat stack of cards out of the envelope, turned them over, laid them out on the kitchen table, and read them each a few times before putting them on the fridge (including envelope because it was too pretty to toss!) These experiences can’t be captured in just one image. Add and remove pieces, turn the envelope over, open it up. Stack the pieces and tuck them partially into the envelope. Move the flowers, ribbon, stamps, or jewelry around in the image so that each feels fresh. This kind of variety is important to blogs who are looking for albums with a range of detail shots, and for creating a printed photo album that shows all the pieces that were made so lovingly.
Add depth.
This one is so simple and so important. Seriously, when I saw this done for the first time, it blew my mind and I kicked myself for not thinking of it sooner. Lift pieces of the stationery up to different levels using shallow, flat objects like a stack of business cards, a roll of washi tape on its side, a pack of gum, a tape dispenser, or buy a set of styling blocks to keep in your kit. This allows you to create space in a fairly two-dimensional image by lifting objects to cast subtle shadows on the objects below.
Accessorize.
My favorite objects for styling:
silk ribbon and a wooden spool
tiny scissors
stamps (vintage preferred!)
wax seals and wax seal stamp
jewelry
cuff links
flowers! Pull flowers off of their stems so they face up. Is there fruit? Cut a slice off the back so it won’t roll. Style the boutonnieres with the paper goods.
Pay attention to scale.
When you’re composing an image, it’s important to decide what your focus is, and where you want the eye to travel. If all your styling accents are tiny, the image will appear busy. A large pair of pretty scissors or an oversized stem of greenery might not be right if they draw too much attention from the stationery.
Find the right level of contrast
I find I have the most success photographing my own stationery when there is some contrast between the background and the paper color, but I like to keep the background a medium tone so that the shadows don’t end up too dark. A matte-finish fabric with a subtle texture, a painted board with a plaster finish, or a marble slab all make pretty backgrounds.
I hope you’ll find this useful for capturing invitations in a way that shares the experience of opening and admiring them, and anticipating the day. I love when I see a wedding blog feature or a couple’s photo album begins with a photograph (or a few!) of their invitations. It’s the first part of the story of the day and it deserves to be captured in detail, with care. Photographers, I’d love to hear your tips for capturing details! What did I miss? Do you have a different preference for lighting or arranging paper goods? Let me know in the comments.