Romance in the Finger Lakes + 3 Ways to Elevate your Invitations
Enjoy this perfect day at the Aurora Inn while you brush up on your stationery lingo.
In the midst of the coronavirus pandemic, the allure of a destination wedding still captures the hearts of so many couples, but the idea of plane travel and planning a wedding from afar is much less attractive now. Fortunately, the Finger Lakes just a stone’s throw from Rochester, where I’m based, and within driving distance to NYC, PA, Buffalo, Toronto. It’s a destination for many who come to visit from much farther, so we’re lucky to have close access to venues on Skaneateles, Conesus, Cayuga, Seneca, and Keuka Lakes.
Photo by Laura Rose Photography, Calligraphy by Paper Crane, Invitation by Stone Fruit
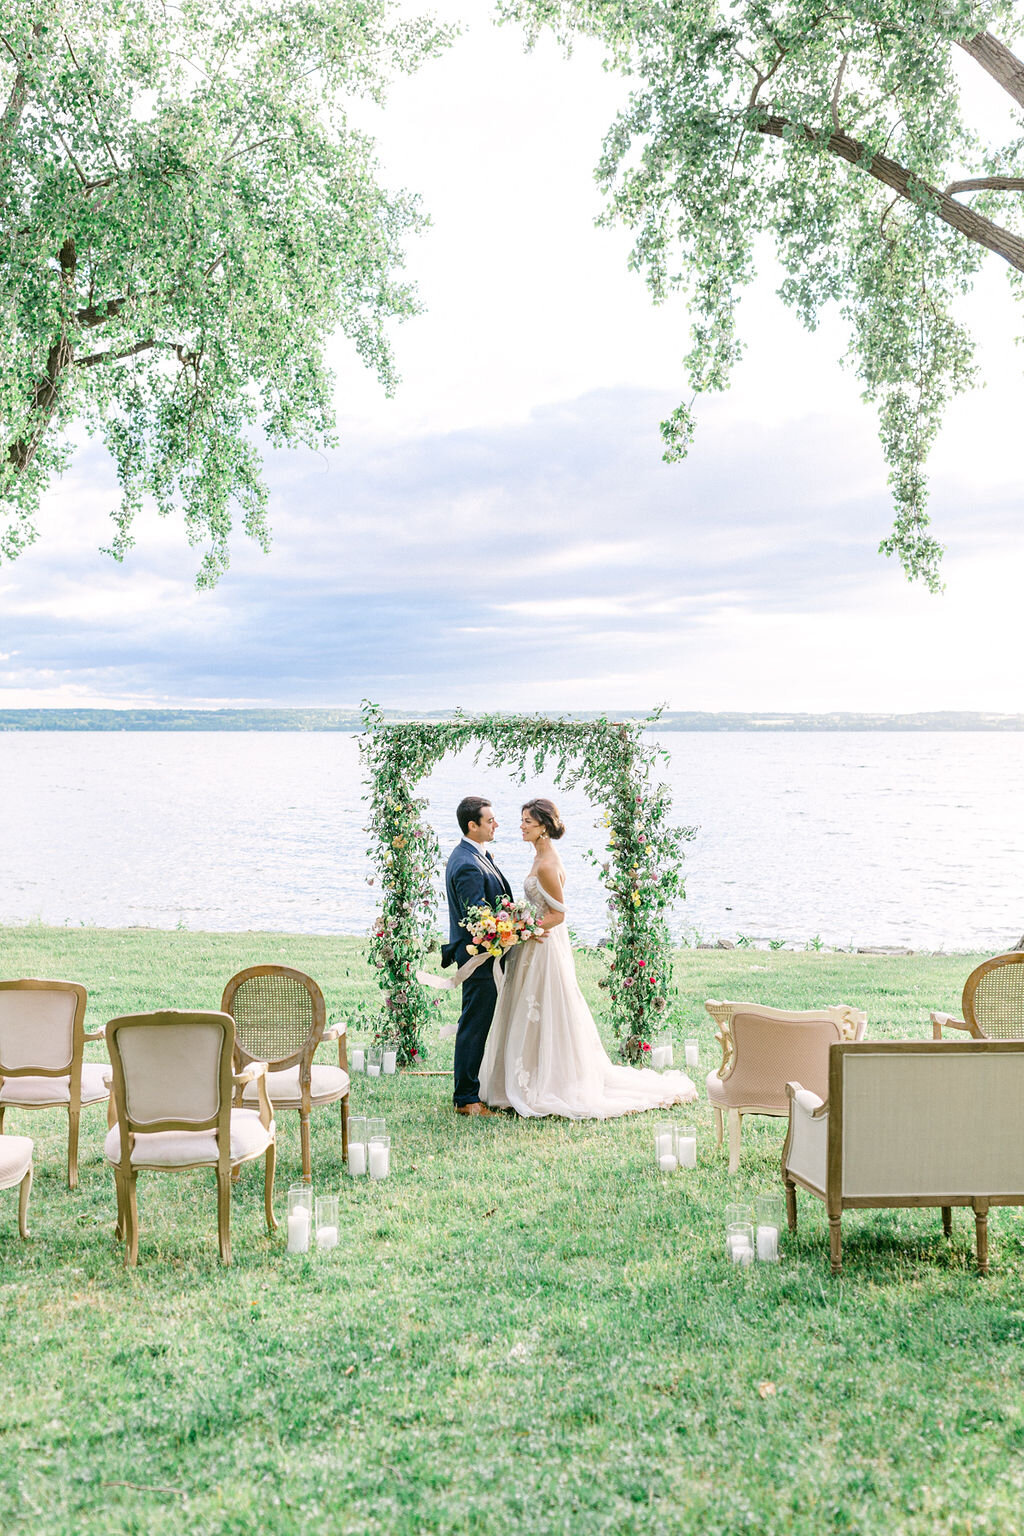
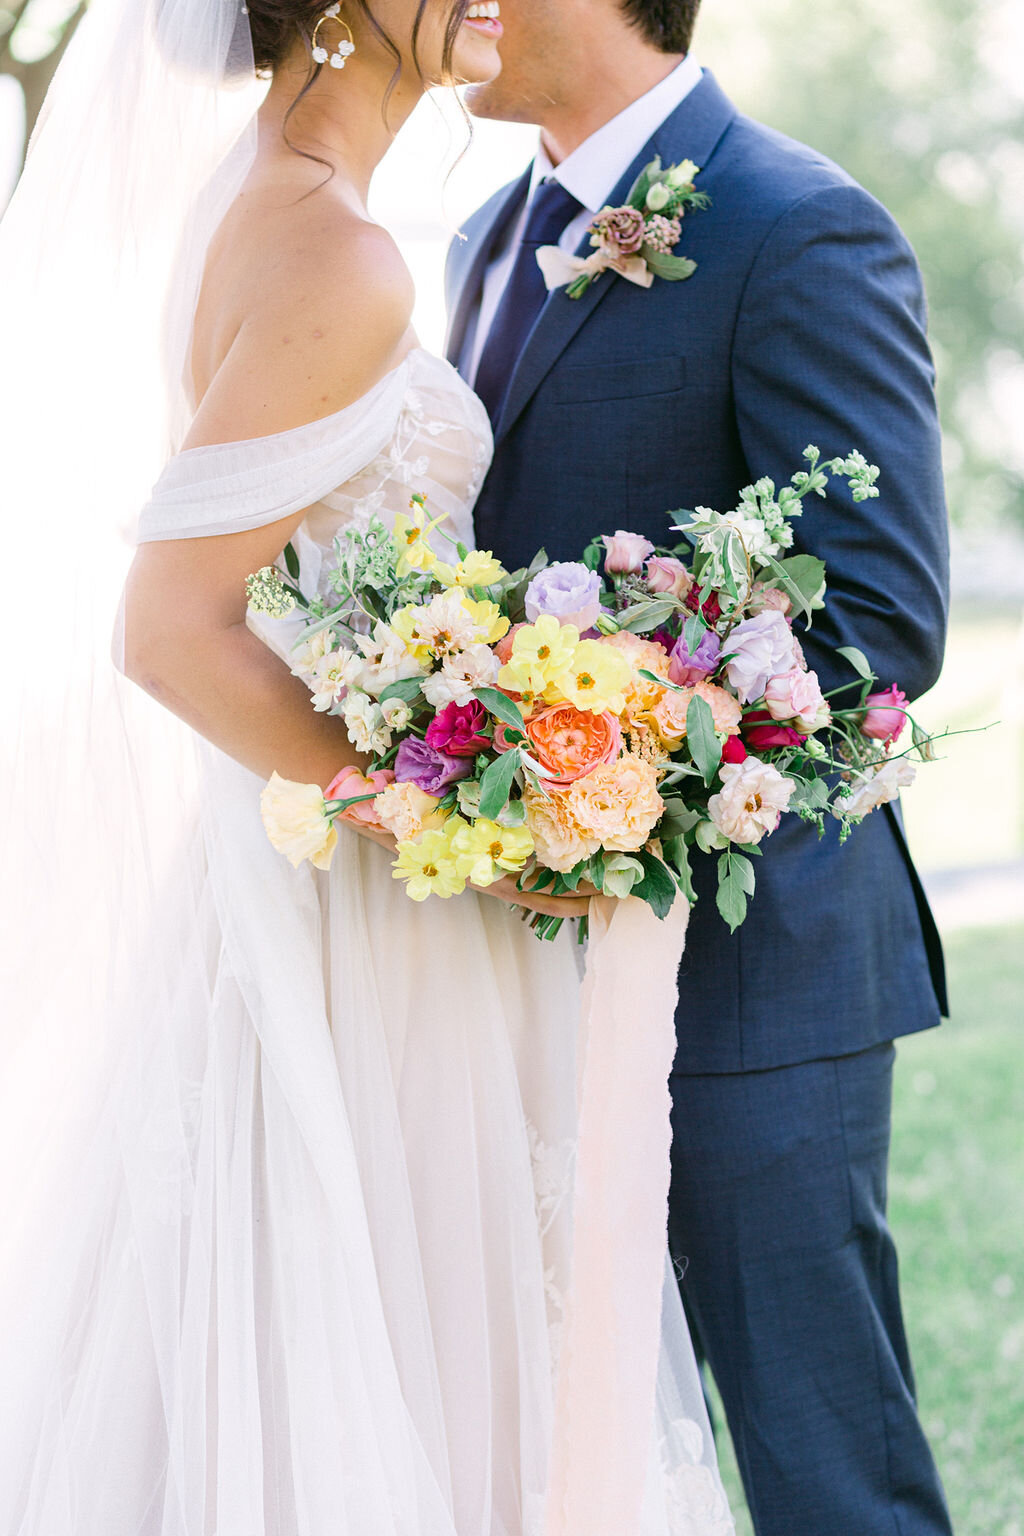
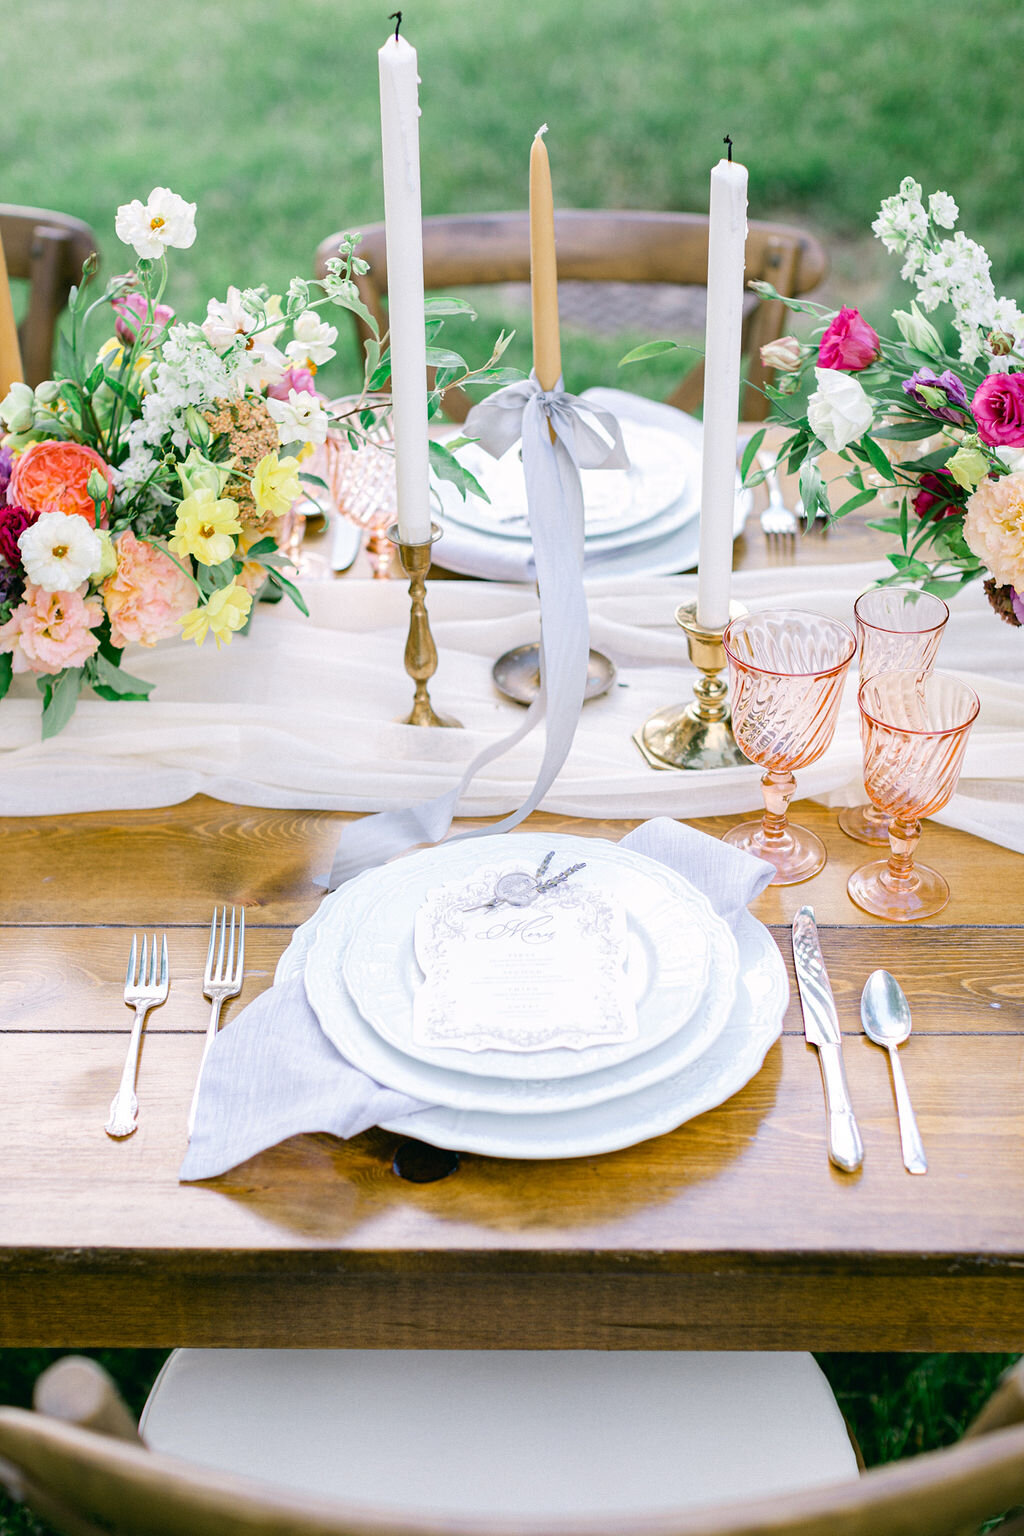
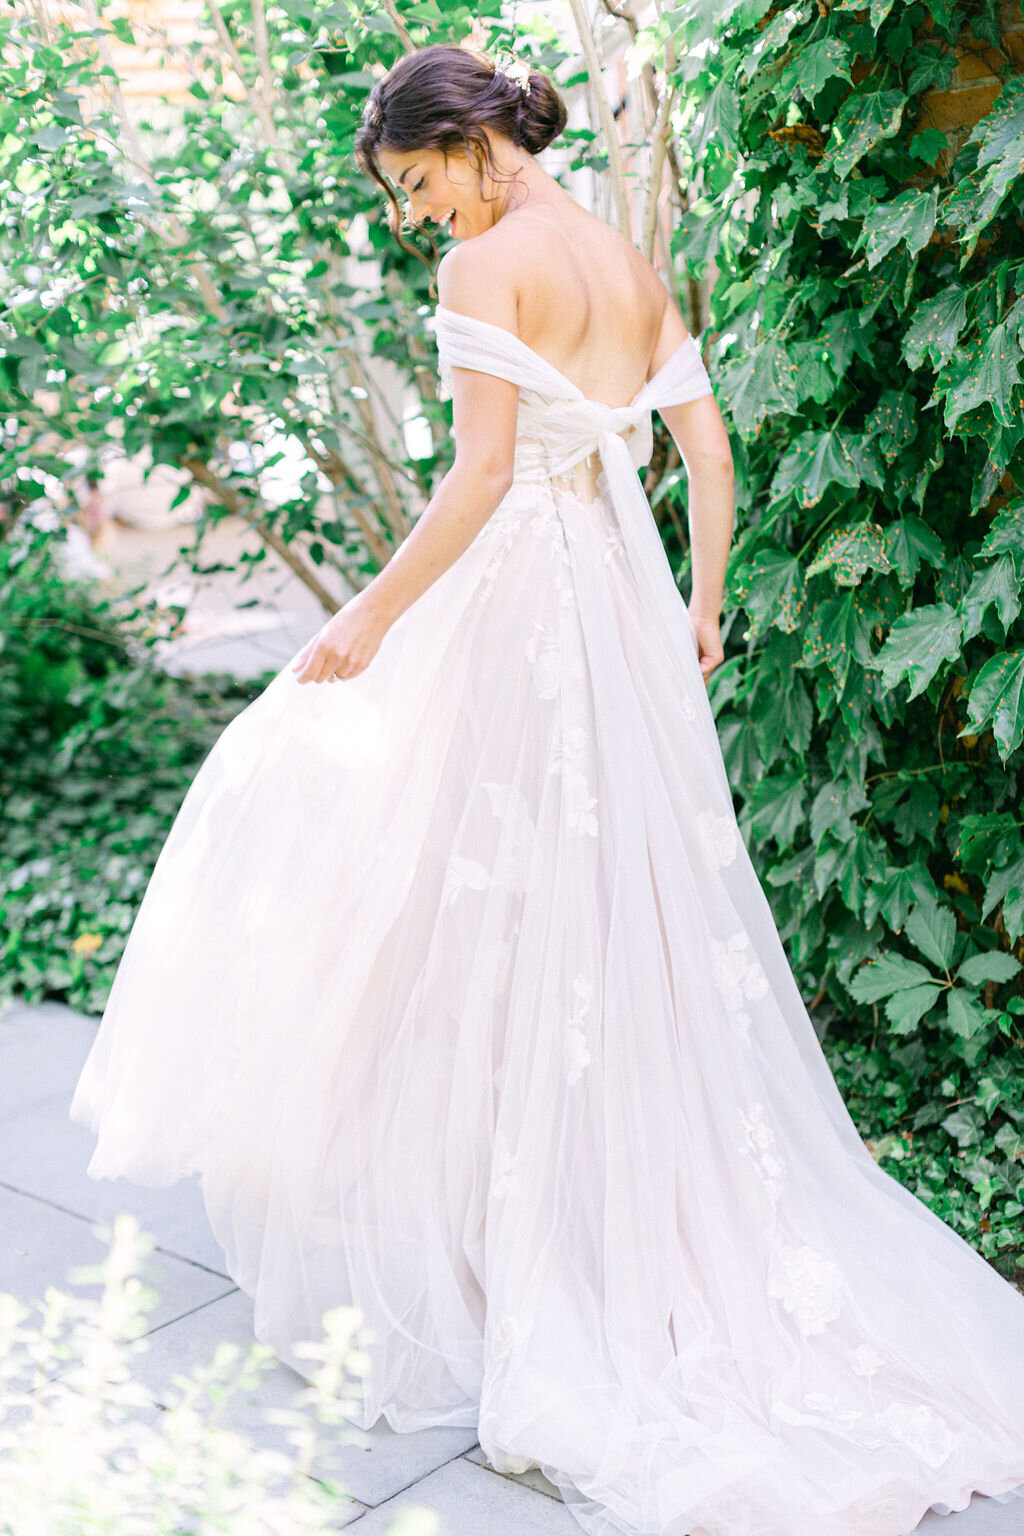
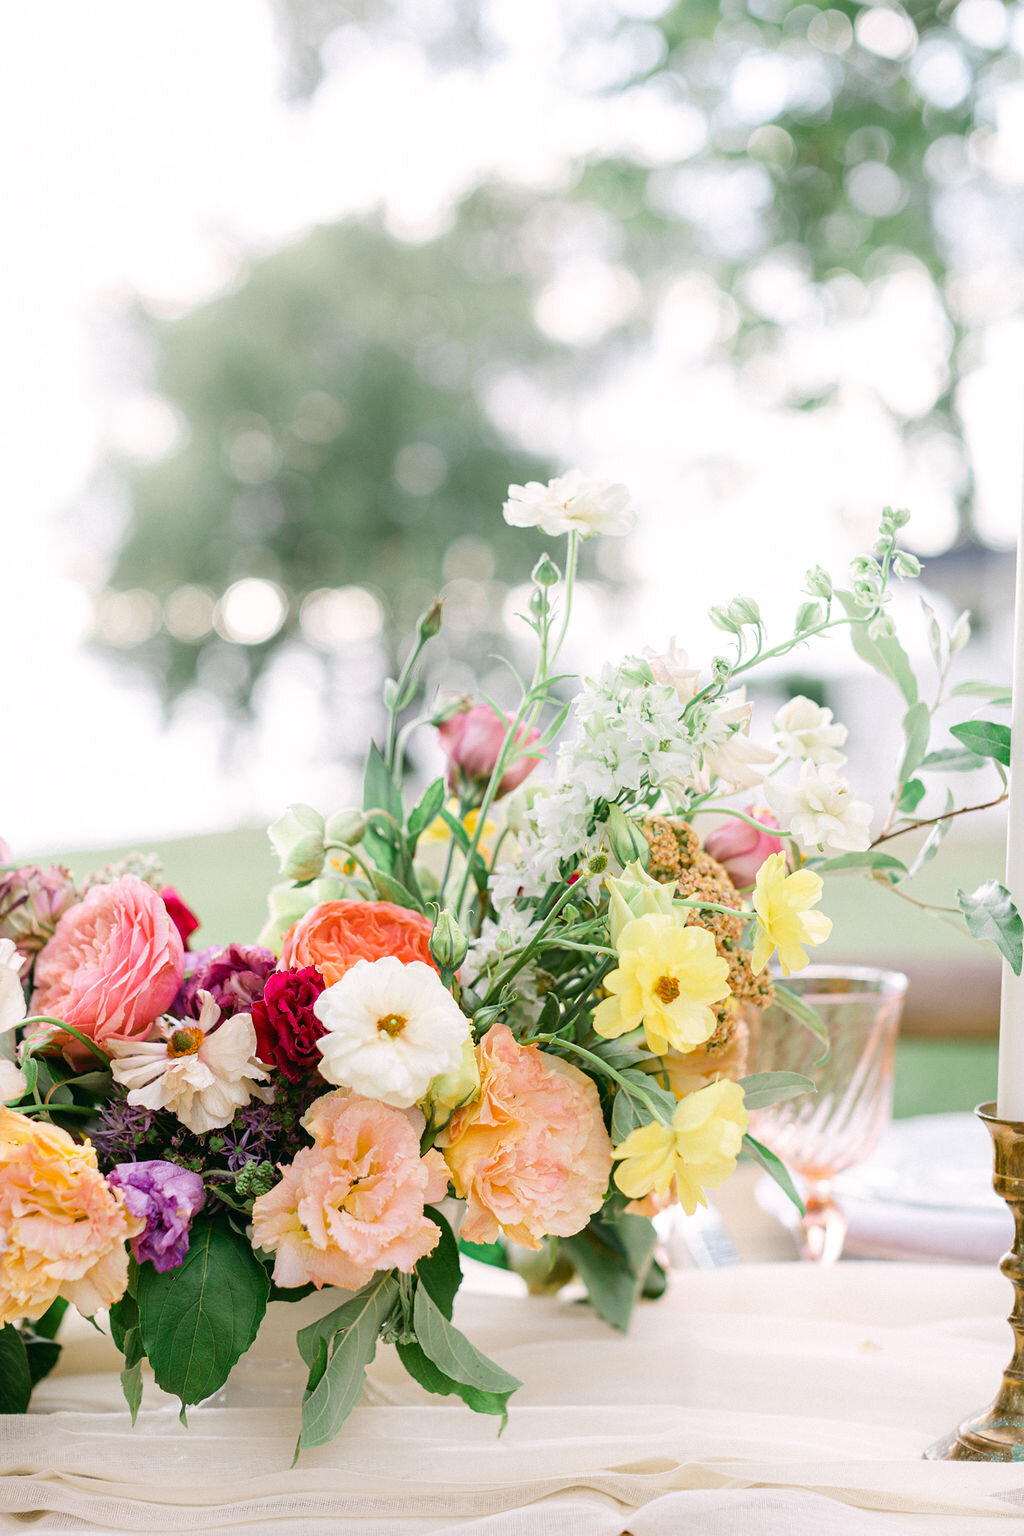
Photos by Laura Rose Photography, Calligraphy/Planning by Paper Crane, Menu by Stone Fruit, Gown from Lovely Bride Rochester, Cake by The Cake Shop CNY, China by Petunia Rose, Flowers by Cedar and Sweetpea, Table & chairs from Auburn Party Rental
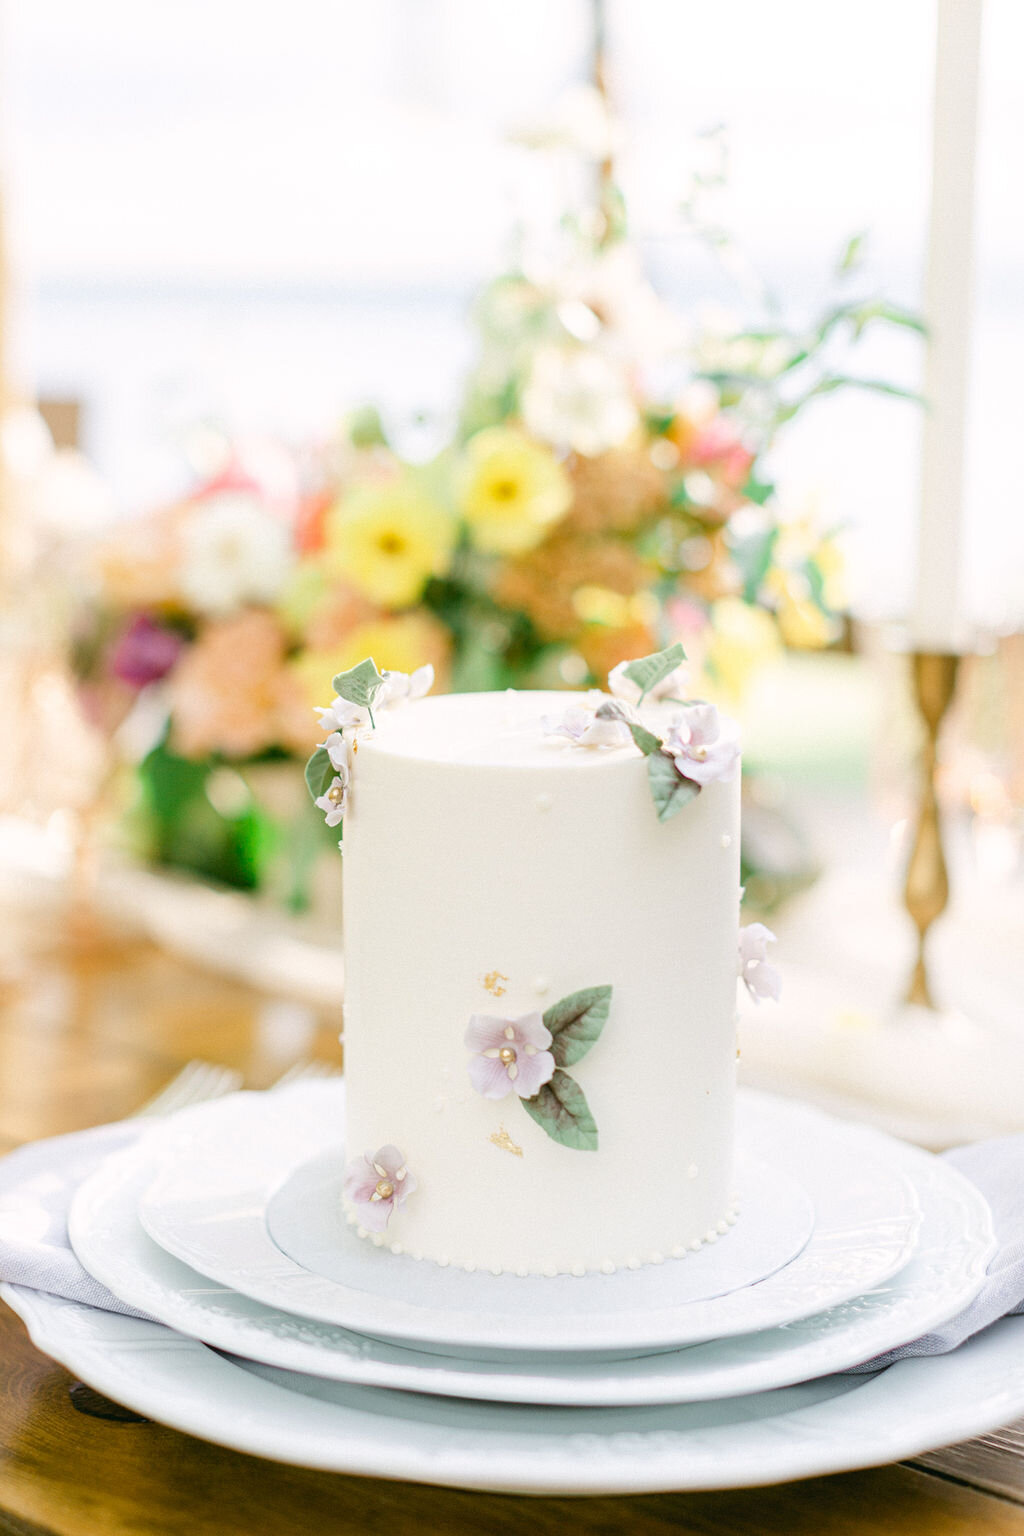
As so many couples have postponed their 2020 weddings, the months that would have been filled with lace, and pearls, flowers, cake, beautiful tables full of food, vows, heartfelt toasts, and first dances freed up and were replaced homeschooling, zoom calls, and house projects for so many wedding vendors, we were getting restless to begin creating beauty together again. As restrictions began to ease, a few vendors from the FLX area gathered to create some European-inspired wedding beauty at the gorgeous Inns of Aurora on Cayuga Lake. It was a perfect day for a wedding, even if only just to pretend.
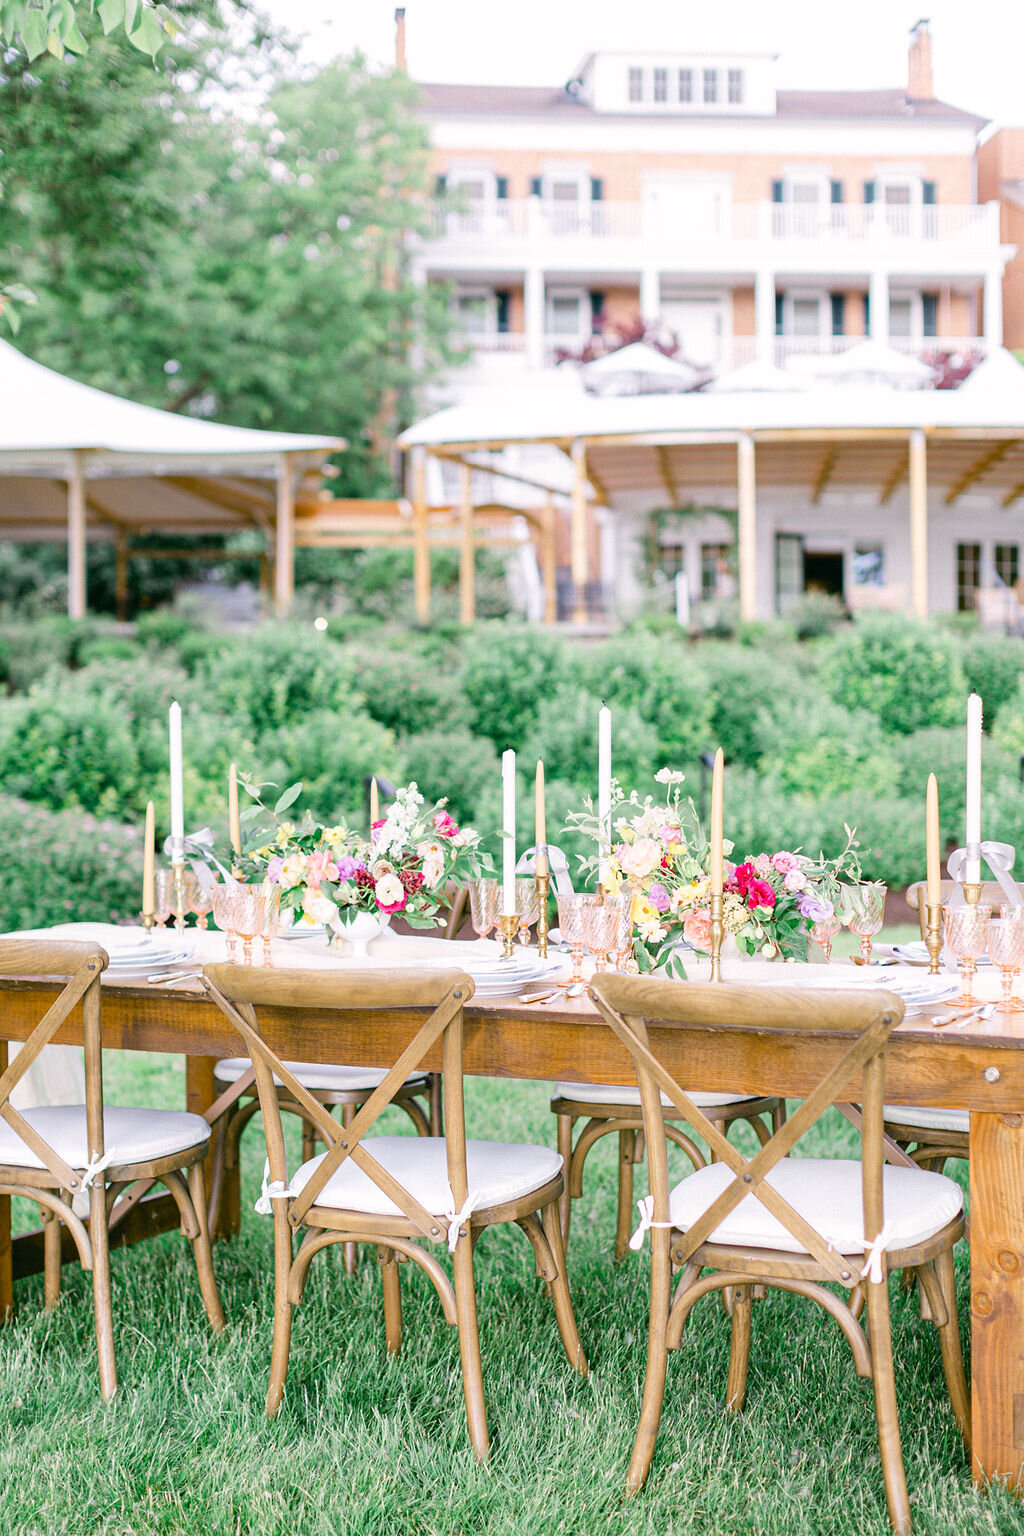
Photos by Laura Rose Photography, Calligraphy/Planning by Paper Crane, Menu by Stone Fruit, Gown from Lovely Bride Rochester, Cake by The Cake Shop CNY, China by Petunia Rose, Table & chairs from Auburn Party Rental
Paper Crane Calligraphy & Wedding Planning gathered a lovely group and thought of every detail. To set the tone for a super romantic, early-summer wedding that was both luxe and relaxed, I created an invitation suite with lots of little details that can elevate an invitation from pretty to perfection. Here’s the scoop:
Spot Calligraphy
What is spot calligraphy and when do you use it?
Spot calligraphy is calligraphy originally done by hand and then vectorized (made into a digital, editable format) that can be used in the invitation suite and printed digitally, in letterpress, or in foil.
For many clients, I design every detail of their suite to be printed- down to the envelope addressing, return addressing, and reply envelopes. If you think you’d like to have envelope calligraphy, I’ll work with one of a few amazing calligraphers to coordinate having your envelopes to be addressed by hand. When we plan on having envelopes calligraphed, spot calligraphy is a beautiful way to create a cohesive look between the invitation cards and the envelopes. In this suite, you’ll find spot calligraphy on each card: the couple’s names, Aurora Inn, Details, répondez s'il vous plaît. Elizabeth of Paper Crane Calligraphy wrote these phrases by hand and I pulled them into the suite so they could be printed along with the other design elements.
The invitation below features spot calligraphy “Nicole Elise,” “Beau B. Renaldi,” and are digitally printed spot calligraphy and the envelope was hand calligraphed by Paper Crane Calligraphy.
Photo by Laura Rose Photography, Calligraphy by Paper Crane, Invitation by Stone Fruit
Wax Seals
Adhesive seals or hot wax? What’s the difference and when do they each work best?
Adhesive wax seals: Use them when you want to save time and you’re applying to a flat surface like the outside of an envelope or the top of a menu. They’ll provide the same look as a hand-made wax seal, but with a fair bit less work. Adhesive wax seals come in a range of edge-types, including organic and smooth, so if you want a perfect edge, adhesive seals might be the way to go.
Hot wax seals: The traditional way to create a wax seal involves melting wax over a flame in a spoon, pouring it onto the surface and pressing it with a metal seal. We now have a more efficient method which replaces the flame and spoon with a glue gun. This method is great for when you’re using the seal to hold down a ribbon or string, when you want to press bits of flowers into the seal, or if you want to get creative with drips and super organic shapes with the wax. In the suite below, I used the glue gun method to create these seals so that I could press lavender sprigs into the seal.
Photo by Laura Rose Photography, Calligraphy by Paper Crane, Invitation by Stone Fruit
Die Cutting
Traditionally, and often still today, die-cutting is done by pressing a sharp metal die that is cast in the shape of the desired cut. Today we can also create custom cut shapes using a plotter (think the Cricut or Silhouette machines, but on a more industrial scale) which can allow for cutting smaller quantities without the cost of creating a custom die. However it’s done, we usually refer to it as die cutting either way because the result is the same. We used a plotter to create this custom shape around the invitation and a die was used to cut the reply card in the “ticket” shape- which is a shape that our printer keeps in stock along with several other favorites.
Photo by Laura Rose Photography, Calligraphy by Paper Crane, Invitation by Stone Fruit
Vellum wraps vs. vellum overlay
To top things off, this suite also includes a vellum wrap featuring a watercolor floral design. The vellum we use today is a translucent paper modeled off of the writing surface that’s been made for centuries from animal skins. Now it’s a vegan-friendly paper made from cellulose fibers of plants and trees. For this invitation, I decided to have the wrap close in the back to create a clean covering over the invitation. A vellum overlay is a single sheet, usually the size of the invitation card that stacks on top of the invite rather than folding around it.
Silk Ribbon
Silk ribbon comes in several widths and with frayed or woven edges. This champagne blush with frayed edges is an all-time fav.
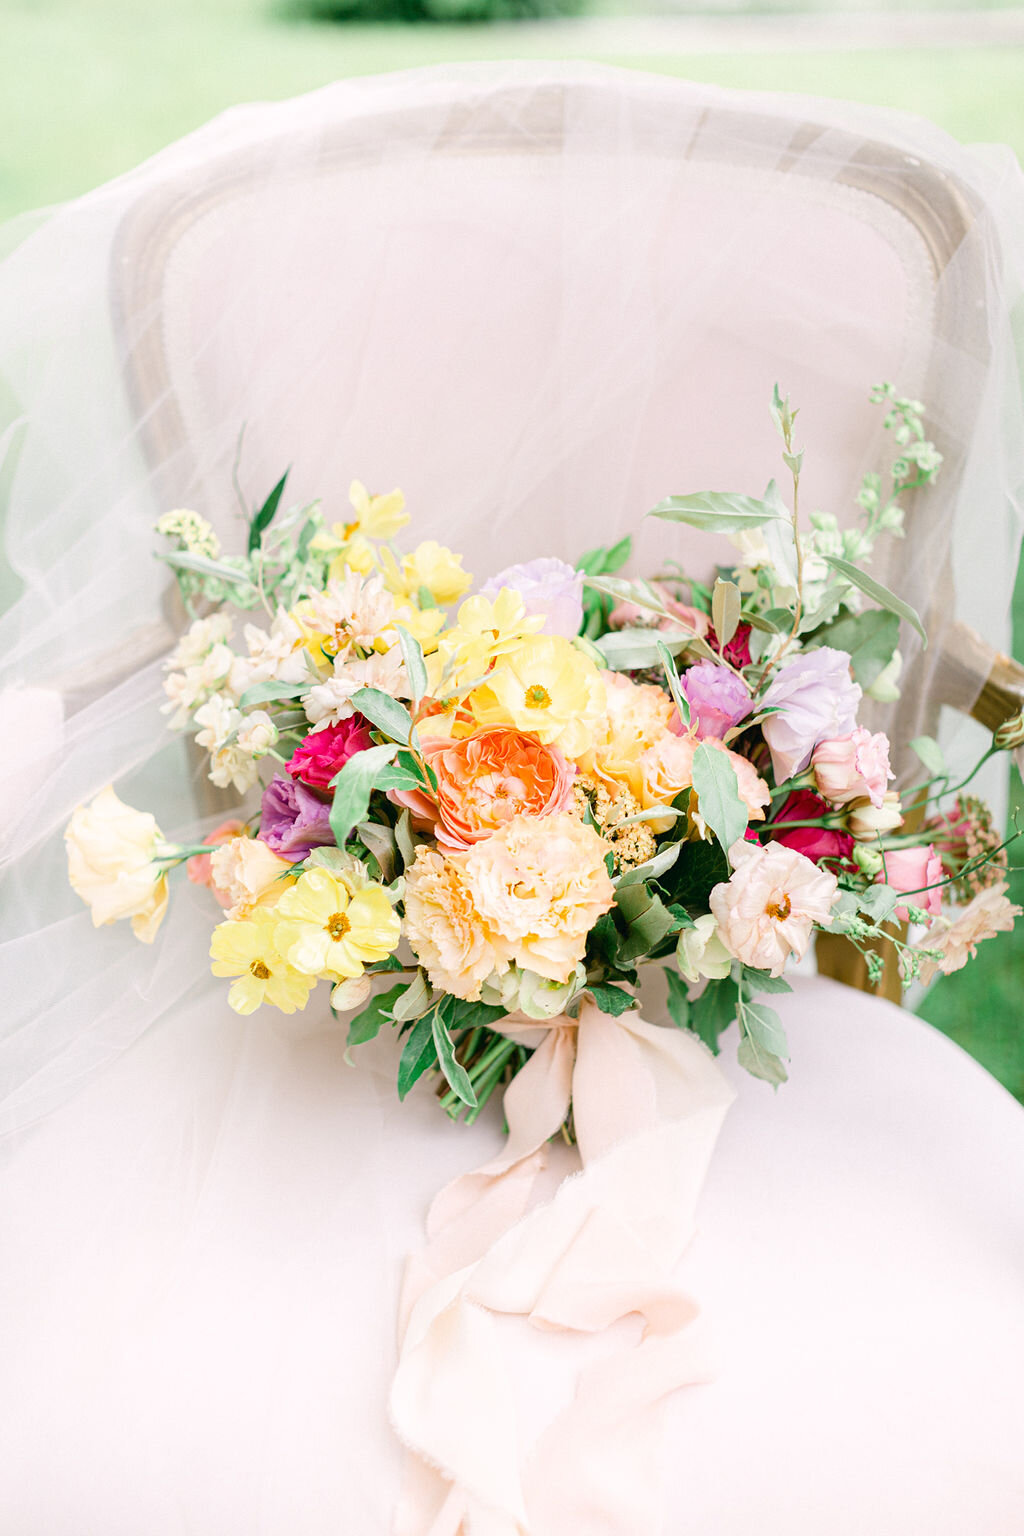
Envelope liners forever and always. I love them for every suite. They create an extra layer of protection in the envelope and they’re a big, blank canvas for featuring a piece of artwork- in this case, a summery floral watercolor inspired by Cedar and Sweetpea’s bouquet!
Photo by Laura Rose Photography, Calligraphy by Paper Crane, Invitation by Stone Fruit
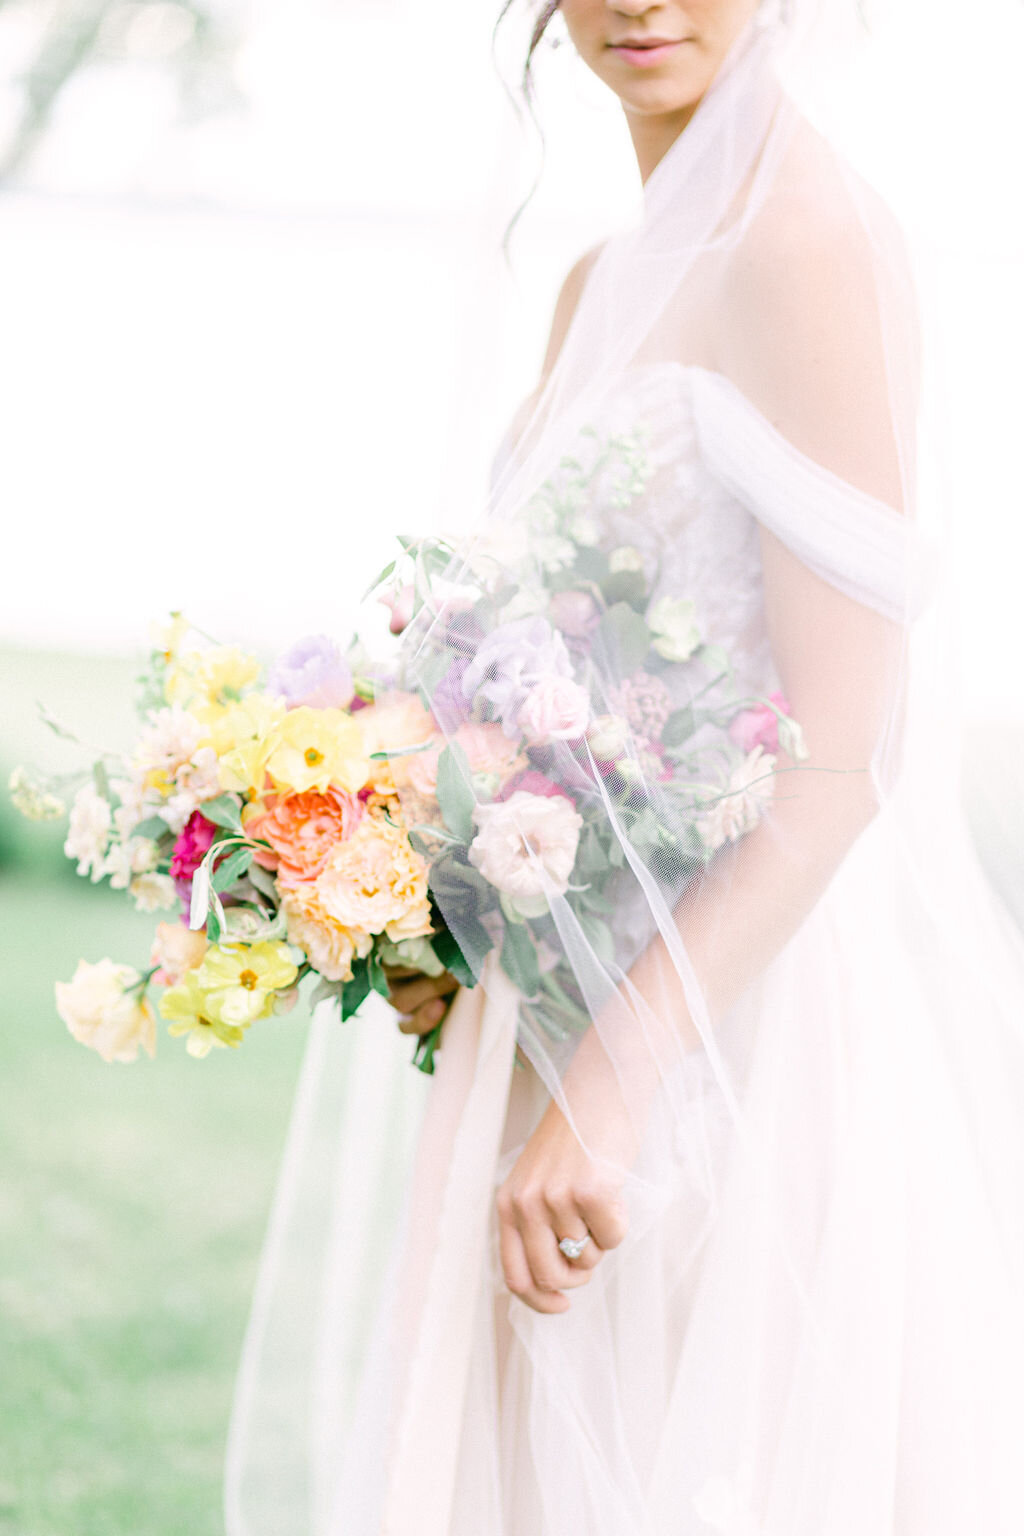
Photos by Laura Rose Photography, Calligraphy/Planning by Paper Crane, Gown from Lovely Bride Rochester, Flowers by Cedar and Sweetpea
Vintage stamps! What’s not to love?! Well, maybe the cost— but one way to defer the high price of vintage postage is to include a current USPS stamp. Current stamps cost their face-value: you pay 55 cents to mail 55 cents worth of mail. Vintage postage can cost many times more than the amount of postage on the stamp, (you might pay $1 for a 10 cent stamp!), so we can combine current and vintage for that lovely curated look, while saving a little $ and a little space on the envelope.
Photo by Laura Rose Photography, Calligraphy by Paper Crane, Invitation by Stone Fruit
I’m planning a wedding. Now what?
Yay! I’m glad you’re here and now we have lots of stationery lingo in common to get the conversation started. Not sure what else you’re looking for? Not to worry! It’s my job to learn about you and your wedding day so I.guide you, make suggestions, and teach you more about the best options available for your custom invitation suite. Start the conversation here. Explore more designs in our portfolio and see more pieces like this out in the wild in some of our favorite wedding blogs.
